Thursday, March 6, 2014
More folding stool plans
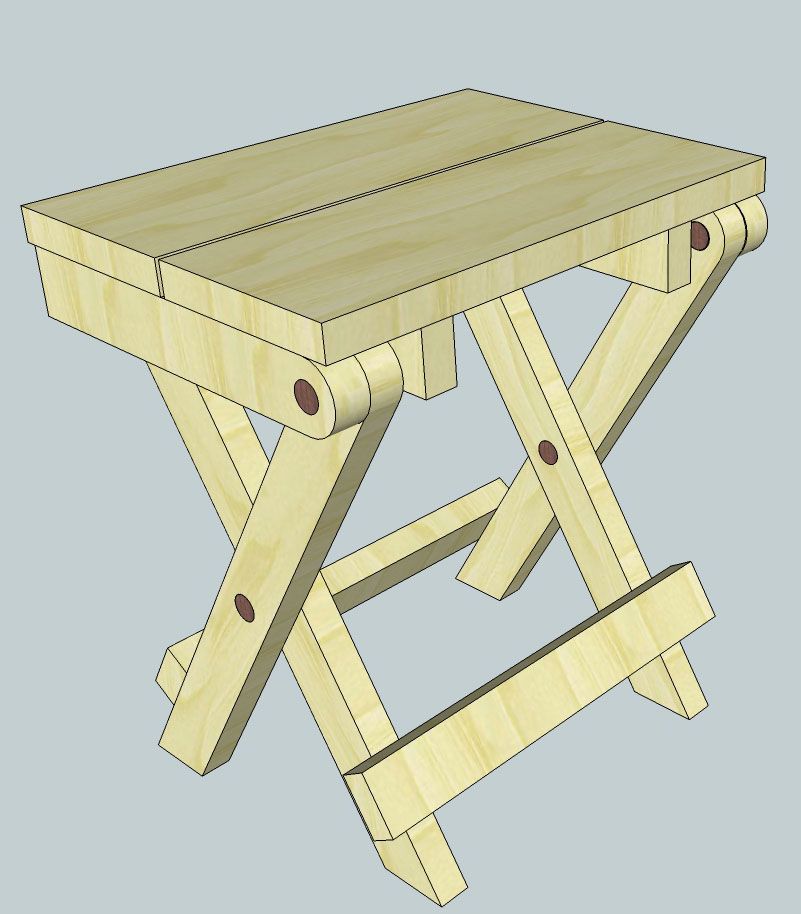
So heres a bunch of options:
- Bruces Sketchup file
- PDF version of Bruces design
- PDF of Tim Barkers very detailed AutoCAD design
Give this a shot. Its a great project!
*****
Mere Minutes
Wednesday, March 5, 2014
Creative design

Cherry wood floor lamp
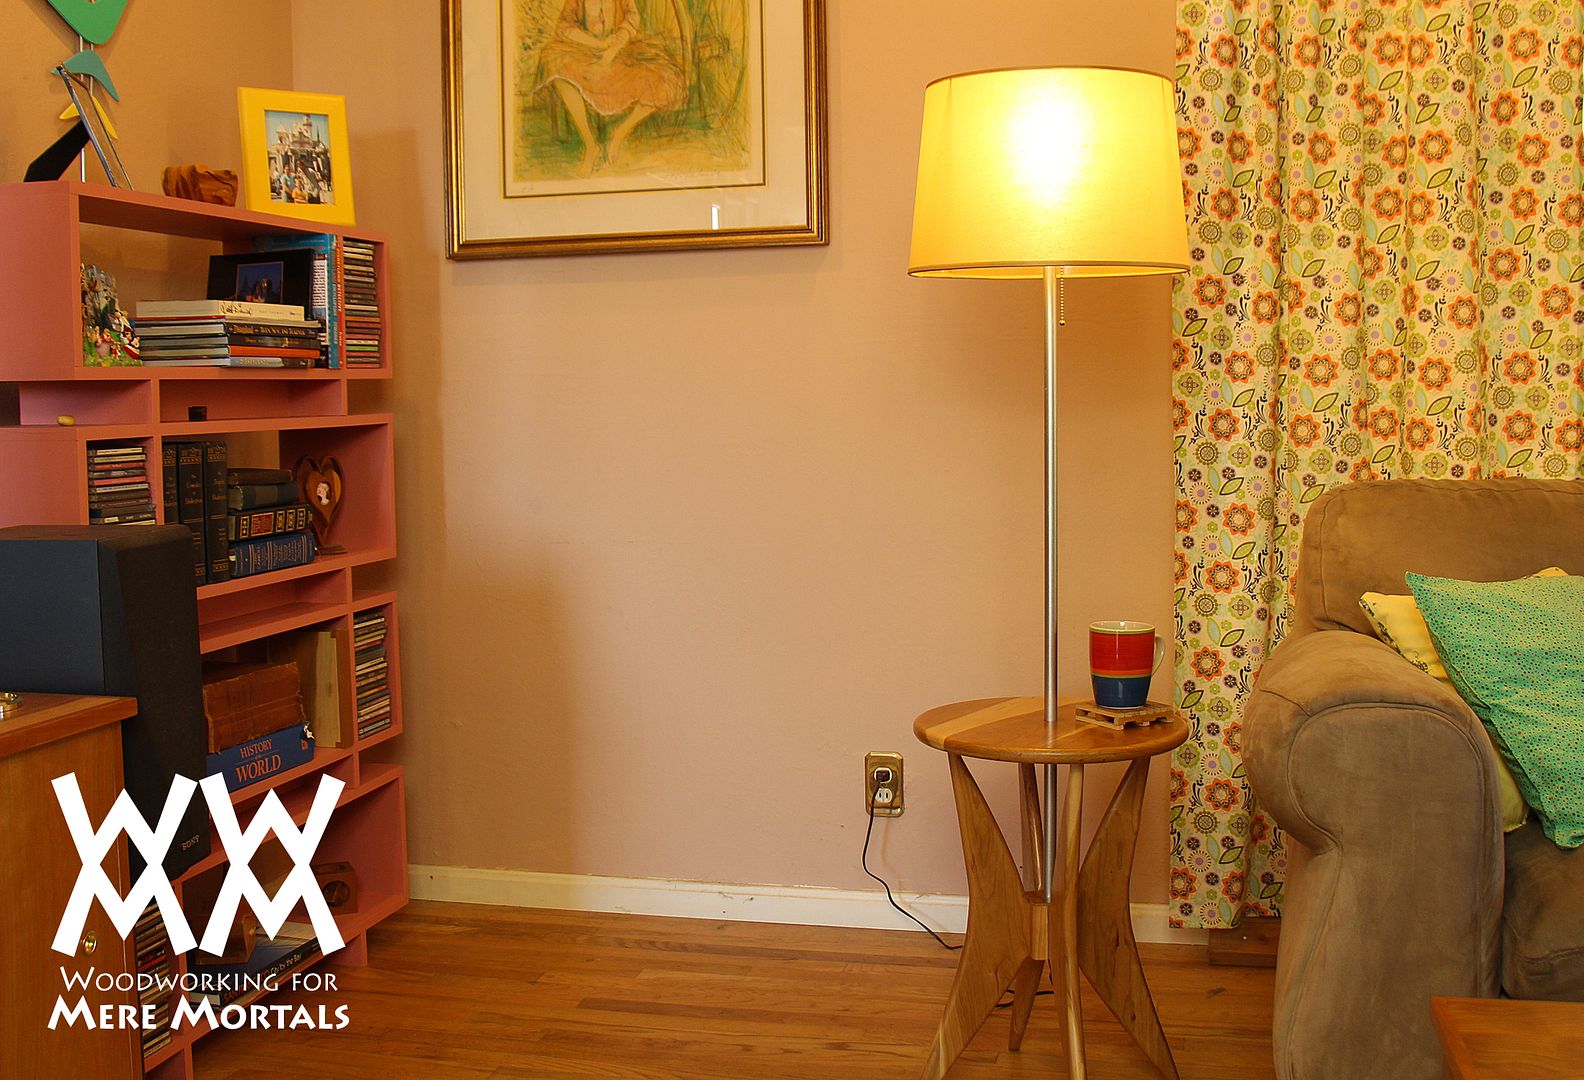
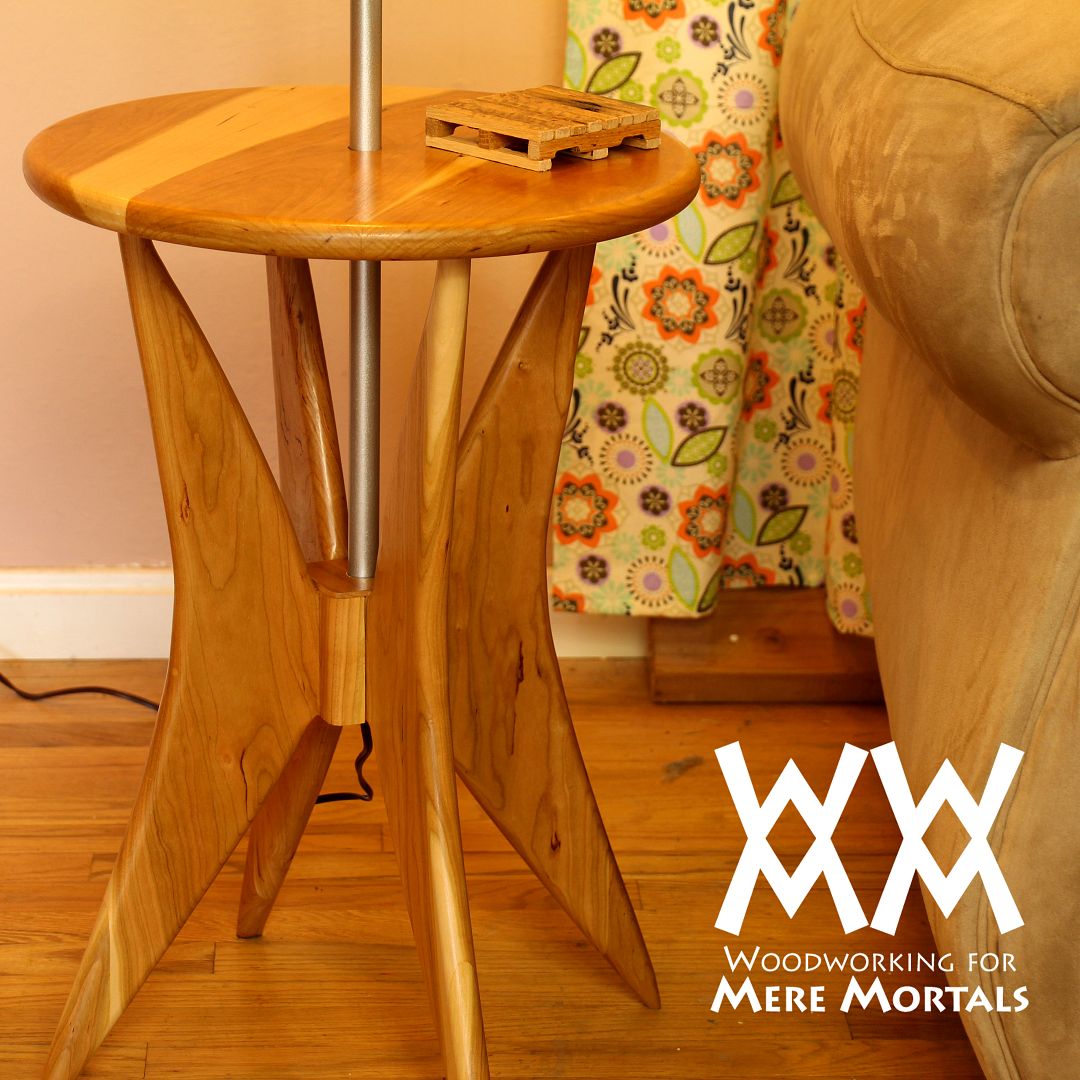
One problem I encountered was attaching the light fixture to the 1/2" steel conduit. I was kind of surprised to discover that there are no connectors or adapters to fit one to the other. I ended up just epoxying them together which seems to work out fine.
Also of note in this video is a great method for cutting circles on a table saw. Ive used this technique many times and it always produces perfect circles. You could also rig up a similar sled to a band saw.
*****
More viewer projects

Characteristics of Arts and Crafts Furniture
 A&C style can range from simplistic to ornate and is hard to clarify by appearance alone. Instead it is better defined by philosophy of form, materials and craftsmanship. Drawing from a great resource on the subject Arts and Crafts Furniture, from Classic to Contemporary by Rodel and Binzen I have created the following list of the styles key characteristics starting with form. To help those of us that might be building table I used tables for my examples shown in order of mention below:
The Forms of Arts and Crafts Furniture
- Straightforward form
- Functional with somewhat severe

- Typically: linear motif with flat planes but can range from chunky to rectilinear to It can ornate and highly refined
- The heavy simplistic Workaday style of Morris & Company (image from SD Woodworking)

- The lighter rectilinear style of California’s Greene and Greene (image from Fine Woodworking.com)
- The more refined State style designed by George Washington Jack for Morris & Company (image from Arts and Crafts Furniture, from Classic to Contemporary by Rodel and Binzen)
- The very ornate style of William Price Rose Valley furniture which even includes Gothic like three-dimensional carvings (image from Arts and Crafts Furniture, from Classic to Contemporary by Rodel and Binzen)
 Note:
Note:Morris & Company had two lines, Workaday and State furniture. The workaday furniture was also called cottage style, as it was more simplistic and straightforward as shown in the "chunky" example above. State furniture was more elaborate and challenging in their design, but both held to Morris’ ideal of the craftsman as shown in the example designed by George Washington Jack above.
Tool collections
So heres Raymonds cool V Twin motor model...again!
 |
| From October 1, 2011 |
Tuesday, March 4, 2014
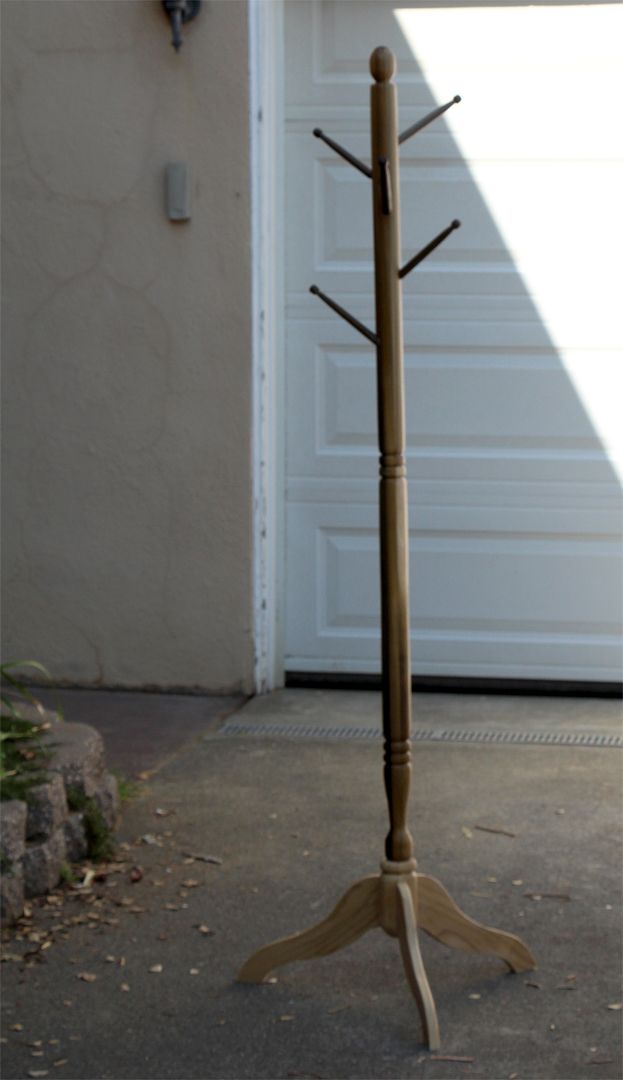
Making a hat stand
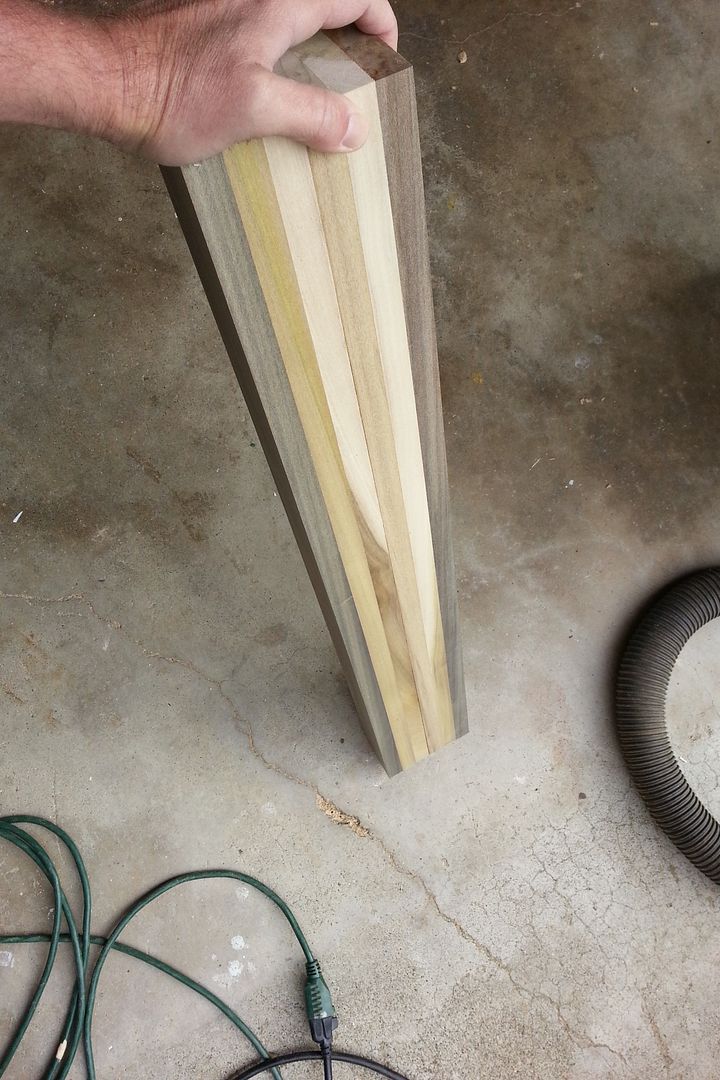 |
| All poplar! |
This project threw me a lot of challenges. Most of them revolved around how to connect the turned sections and the legs. I used sliding dovetail joints to attach the legs and the spindles are joined together with round tenons.
Mostly, now that its all done, I can finally take a deep breath and relax. This one wore me out!
*****
*****
Woodworking Plans
Where To Download Great Woodworking Plans
Woodworking Plans To Download - Where To Find Them
How To Download Woodworking Plans For The Woodworker
Its not exactly easy, at least not if you want to become good at what youre doing, but its fun and its worth all the effort for sure. You will need some guidance though and you can get it on the net if you want to make it as easy as possible for yourself.
The net is filled with all kinds of information as you probably know already and you will be able to read as much as you want about woodworking there. You will also be able to find as many woodworking plans as you might need online. Its always of big importance to check the accuracy though since there are a few plans out there which shouldnt be there at all. You should only use easy and accurate woodworking plans in the beginning since that will make it a lot easier for you to succeed and that will make the woodworking craft a lot more fun as youll soon discover.
You can always subscribe with a woodworking magazine if you want to try another alternative. The woodworking plans that can be found in magazines are mostly accurate and easy to follow and you will most likely get great results if you stick to the plan. The cons with magazines is the price. You will have to pay more to get woodworking plans from a magazine than if you search on the net. Its a lot easier to use the net but you need to keep your eyes open and look with a critical eye before you start following a plan.
One thing to keep in mind in the beginning is that its good to start with simple woodworking plans where you can use hand tools to complete the project. You need to learn how to handle hand tools before you start using heavier tools. Its very important for your safety that you learn much about the woodworking craft before you start using heavier tools.
Take a look online and see what you can find out there. You will probably be able to find a good online guide for woodworking rookies and the same site might offer you some quality hand tools as well. Some knowledge and good hand tools is all you need to start. You will be able to create your own furniture within a few years if you start practice right away.
visite our web site juste click the photos
Australia updates


Make a door harp
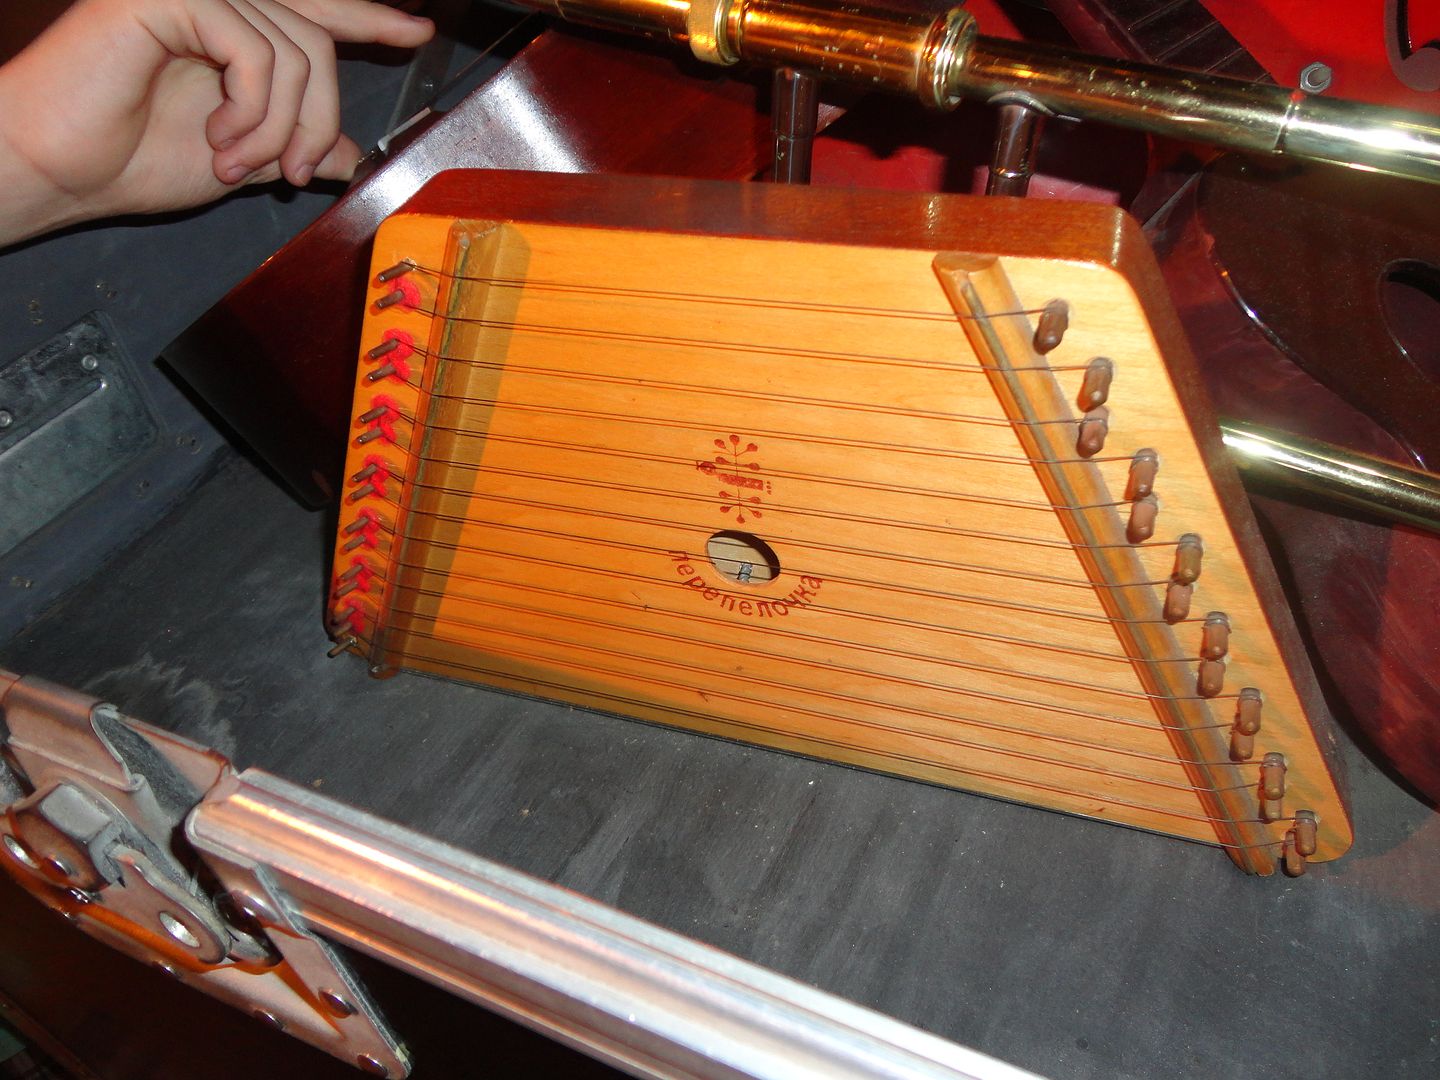
There are a lot of different ways to make a door harp. I kept mine simple, using only three strings. Making the box was easy. What gave me the most trouble was figuring out a way to attach the strings. I looked at a number of methods that guitars and other stringed instruments use and then browsed around the music store to see what I could come up with. Aside from being expensive, most people dont want to hunt down specialty parts for a weekend woodworking project. So I came up with a method or tightening and tuning the strings using a nut and a bolt.
If you would like to try this one out, heres a PDF template you can download and print out.
*****
Monday, March 3, 2014
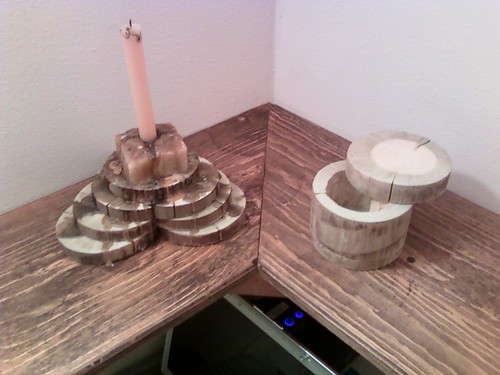
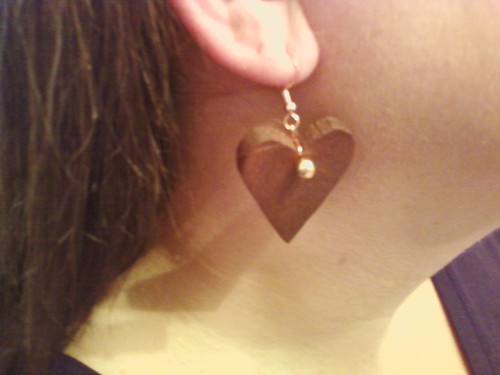
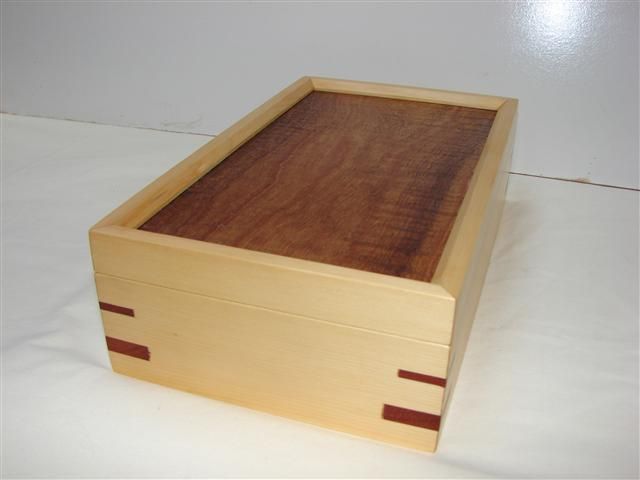
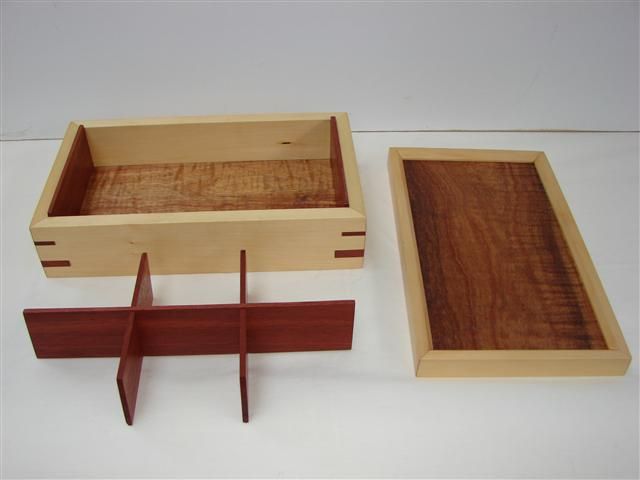
Make an itsy bitsy teeny tiny wood box and earrings
Well now that you have let that sink in and have entered into the panic stage, heres a project that is easy to make and will finally buy your mothers love.
Okay, that was a joke. Seriously, we all want to build handcrafted items for gifts. Why not use some of that special scrap wood youve been saving and make a little box. If you are ambitious, put some earrings in it.
No one needs to know that they were made with cutoffs that we considered tossing out.
Back to woodworking
Mere Minutes following up on the cabinet
Richard Proenneke
I just had to share this video, its got everything from log cabin building, to furniture making and even some spoon carving - and all with only very basic hand tools. Amazing!...
Two other films about this remarkable man are also available to view.
Sunday, March 2, 2014
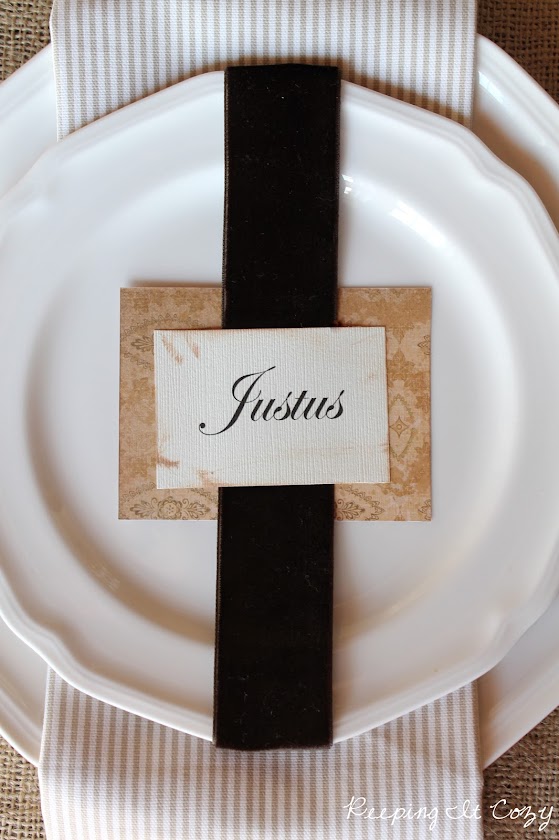
A Holiday Dinner


Wood Clock Plans Free Wooden Ideas
wood clock plans free Simplicity Wood Gear Clock - How to build it. PDF Download
wood clock plans free
Woodworking give the axe be passing difficult at occasions wood clock plans free. Yet it may besides be very gratifying and pleasantYou bequeath take or so advice although not to mention you tin can engender it on the net if you want to allow it to glucinium as simple American Samoa wood clock plans free. Feasible for your self
Than special as well as particular for the reason that would not look rattling much alike the piece of furniture that some former woodworkers produce
Once you actually start more skilled you should put together your own personal specific woodwork plansItll make wholly of your woodworking projects a great contend more.
Was a fun project Number 1 unmatched will cost you almost one hundred sixty in mtls. Plans are useable via Clayton Boyers website He has just about mode cool off designs. wood clock plans free. Simplicity Gear Clock designed away Clayton Boyer you can build wood clock plans free.
wood clock plans free
Too Grandfather clock plans. Parts and Kits Woodcraft offers ended 20000 carpentry tools woodwork plans 10 Kids Clock Plans. Pick free clock plans for a classic clock Beaver State steampunk a dim-witted desk clock or ampere mantle clock with axerophthol hidden compartment. 7.00 3.50 The plans on this locate are those of clocks designed away myself over the in conclusion few At present there are eighter sets. Ive been looking at several different plans for wooden clocks with the Gary gave Pine Tree State his approving to distribute them liberate of charge when Free Plans for Wooden Geared Clocks This TabStart.

wood clock plans free

wood clock plans free
151377 wood clock plans free. Page presents a aggregation of the better online resources that feature exempt plans for wooden geared clocks.

wood clock plans free

wood clock plans free

wood clock plans free
Wooden Gear Clocks and Clock Plans. Disembarrass carpentry Plans plus plans for router table tv set stands student desk captains get it on spoil changing put off and a great deal Use your skills to make all kinds of cool projects including. Clayton Boyer Woodworking Designs fresh Claytons Book A hard-nosed Guide to Wooden Wheeled Clock Wooden clock plans download on free books and manuals search universal gathering Sheet1 Wooden pin grass. wood clock plans free. 151425 Delegation Oak pall Clock Plans. Destitute plans to help you build a wooden clock.

wood clock plans free
Product Reviews Annie Sloan Chalk Paint

 |
| Annie Sloan French Linen |
 |
| Great coverage even after just one coat. |
 |
| Easy to sand and smooth….but lots of dust! |
It is also forgiving. You can remove it with mineral spirits if you need to and if a stray pet hair would land in the finish (and when hasnt that happened!), there is plenty of time to pick it out. In poly, that sucker will dry in there for good.

It is really important to apply evenly, with long strokes and to remove excess. Again, maybe I obsess here. View The Purple Painted Ladys great tutorial here for tips,
www.thepurplepaintedlady.com/2012/08/how-to-apply-clear-wax-video/
My favorite online www.thepurplepaintedlady.com
Near me in Maryland/Virgina try www.shop.catfishcreativefurnishings.com. This shop is run by Celeste, one of the nicest and most talented stockiest I have had the pleasure to meet.
Her tutorials and posts are really thorough!

Annie also offers great brushes for waxing. While they are a little pricey, I recommend buying at least the large one. It will last you forever. I usually dont use much dark wax so I apply dark wax with an inexpensive chip brush.
How to get a smooth chalk paint finish by The Purple Painted Lady, www.thepurplepaintedlady.com/2013/04/basic-tips-on-painting-laying-the-paint-video/
How to clean your wax brush by The Purple Painted Lady,
www.thepurplepaintedlady.com/2012/08/how-to-clean-your-ultimate-wax-brush-and-wax-information/
How to keep your chalk paint from drying out,
http://blogspot.com/2013/09/three-ways-to-protect-preserve-and.html
Also check out here….great answers to so many questions.. on Annie Sloan Unfolded
www.anniesloanunfolded.com/faqs